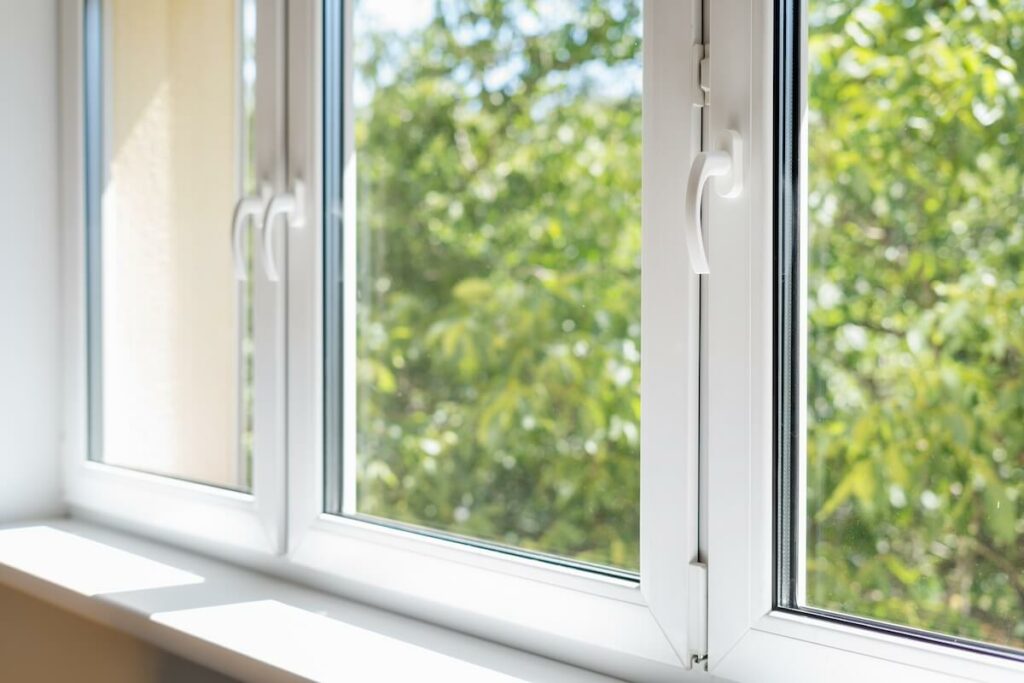
There are so many benefits to installing privacy glass in doors, windows and even walls in homes and workspaces. They can be stylish, adding a decorative feature in keeping with a minimalist design, or bringing embellishment to a professional environment. They can help you soak a small room in sunlight, magically making it appear twice the size and so much happier.
In fact, there’s only one drawback that people really imagine when it comes to lots of windows and transparent walls: loss of privacy.
But you don’t have to sacrifice your privacy if you want to feature glass in your interiors. By using obscure glass, you can couple all the bright, beautiful benefits of regular glass and still keep out prying eyes.
We’ve put together this FAQ to introduce you to the many possibilities presented by obscure glass, an option that many don’t even realise exists.
What is obscure glass?
Obscure glass is a very broad term that actually covers any type of glass that is not crystal-clear and transparent. It is glass which ‘obscures’ the view through it, distorting or concealing what is on the other side, because of this, it’s often referred to as privacy glass.
This obscuring effect can be achieved in a variety of ways, usually by use of a texture or pattern. It can range from offering complete privacy by obscuring the view completely or simply showing silhouettes. It can also be more of a style choice, that offers only a very mild distortion.
Obscure glass can be highly decorative and very practical. It is also versatile.
What types of obscure glass are there?
As mentioned above, ‘obscure glass’ is an umbrella term for many types of glass you may have heard of. Here are some of the more specific types you can choose between:
1. Frosted Glass
- Frosted satin glass: this type of glass has an almost mottled effect on its surface, and it is the most commonly seen type of obscure glass. In fact, it’s so commonly seen, we’ve actually got a whole post dedicated to frosted glass.
- Sandblasted glass: another popular obscure glass is sandblasted glass. It is a specific type of frosted glass, where the mottled surface is created by firing a material like sand or walnut husks at the glass. To find out more vi, visit our post on how to use sandblasted glass in your home.
2. Patterned / Textured Glass
This type of glass is created by rolling the molten glass between patterned rollers. As well as diffusing light and obscuring the view, patterned glass tends to be highly decorative.
Common patterns seen on textured glass include:
- Reeded / Fluted: Surfaced is ‘ribbed’ with vertical lines or ridges
- Delta Frost: A fern-like pattern that’s highly decorative
- Chinchilla: Lots of short, thin lines, looking almost like fur on the glass.
- Cathedral: Wavy texture reminiscent of the texture of stained glass.
- Cotswold: Rough, bark-like texture — very common in bathrooms and doors.
- Arctic: Crystalline pattern resembling frost.
- Glue Chip: Frosted pattern formed by dried glue — looks like ferns or frost crystals.
3. Wired and Safety Obscure Glass
Sometimes obscure glass comes with an embedded mesh for added security and safety. This tends to have a wavy texture to obscure sightlines.
4. Tinted Glass
This is glass that has been coloured to obscure the view through it. Most common colours are bronze, grey and blue, and this is sometimes combined with textures to create an even more obscure effect.
Is there a difference between obscure glass and frosted glass?
As we discussed above, ‘obscure glass’ is an umbrella term that refers to a variety of obscure glass patterns, including frosted glass but not limited to it. This means all frosted glass could be called obscure glass, but not all obscure glass is frosted.
There are options available that would still count as obscure.
One of the attractive benefits of frosted glass types, is that you can embed designs, logos and embellishments, giving you complete control over the design. These can range from generic floral frosted glass patterns or unique company branding.
They’re particularly popular as door panels or glass walls.
Are there different levels of obscurity available?
By now you’ve probably realised that obscure glass is very versatile. You can choose between obscure glass windows or doors that are almost completely transparent, or ones that are completely opaque. As we mentioned before, Pilkington textured glass is available in 5 different levels of privacy, allowing you to decide on the best level of opacity for your requirements.
While some styles of obscure glass might be limited in how much flexibility is offered in terms of opacity, there are so many options across the range that you will always find a type of glass to suit your needs.
Is obscure glass different to opaque glass?
Obscure glass allows you to lower the visibility through a glass panel. Opaque glass sits right down at the very extreme end of that scale, and leaves the glass completely impossible to see through. And, unlike obscure glass, opaque glass won’t let any light pass through it either, though it is highly reflective, Opaque glass is most commonly used for things like kitchen splashbacks.
If you like the cool, clean lines that glass brings without wishing to compromise privacy at all, opaque glass could however be the perfect choice for you.
Can you ‘temper’ obscure glass?
Tempering is a process you can apply to glass in order to strengthen it. It involves heating the glass to very high temperatures, then exposing it to a very cold temperature. As the outside of the glass cools quicker than the inside, this creates ‘tension’ inside the glass which makes it very strong.
Tempered glass can withstand a higher level of impact without breaking. It also shatters in a certain way, breaking down into crumb-like pieces rather than jagged shards. This means that as well as being stronger, it is safer.
This process is commonly used for large glass panels, such as those in full length windows, doors and furniture, to make them safer.
Obscure glass can be tempered just like other glass, and often is. If you are choosing obscure glass to place in a window, door panel or similar setting, you would definitely be better off having obscure glass that is tempered.
Where can you use obscure glass?
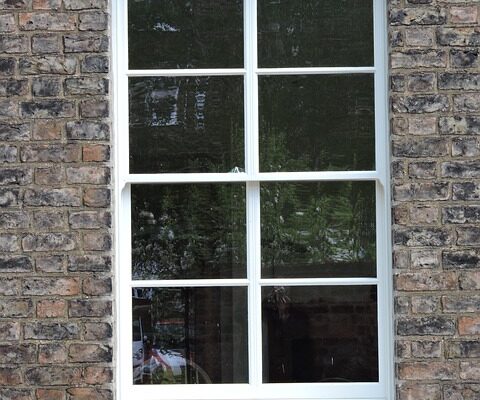
The flexibility and versatility of obscure glass mean you will find it at home in a whole host of settings. You can bring light and space to your narrow hallway while still keeping your home secure, by placing an obscure glass panel in your front door.
Or you could give workers a lighter, brighter, cheerier space to work while still allowing them their privacy by installing obscure glass walls in an office, the possibilities are endless!
One of the most popular places to use obscure glass is in bathroom windows. In a space where your privacy is paramount, choosing obscure glass allows you to maximise the light in the smallest room of your house, while maintaining a sense of seclusion and safety.
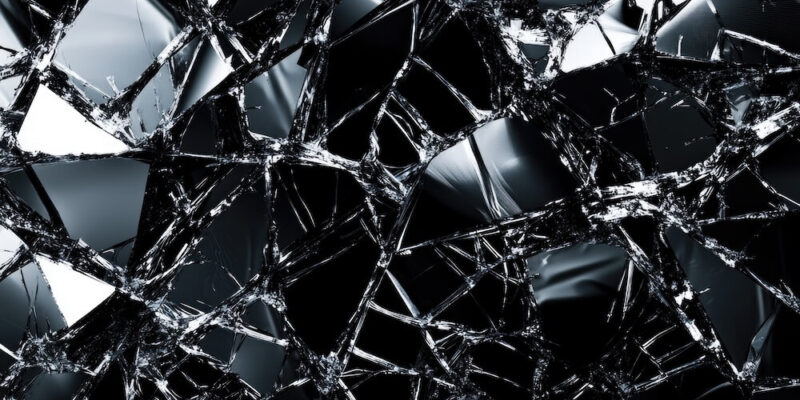
 What makes glass spontaneously break?
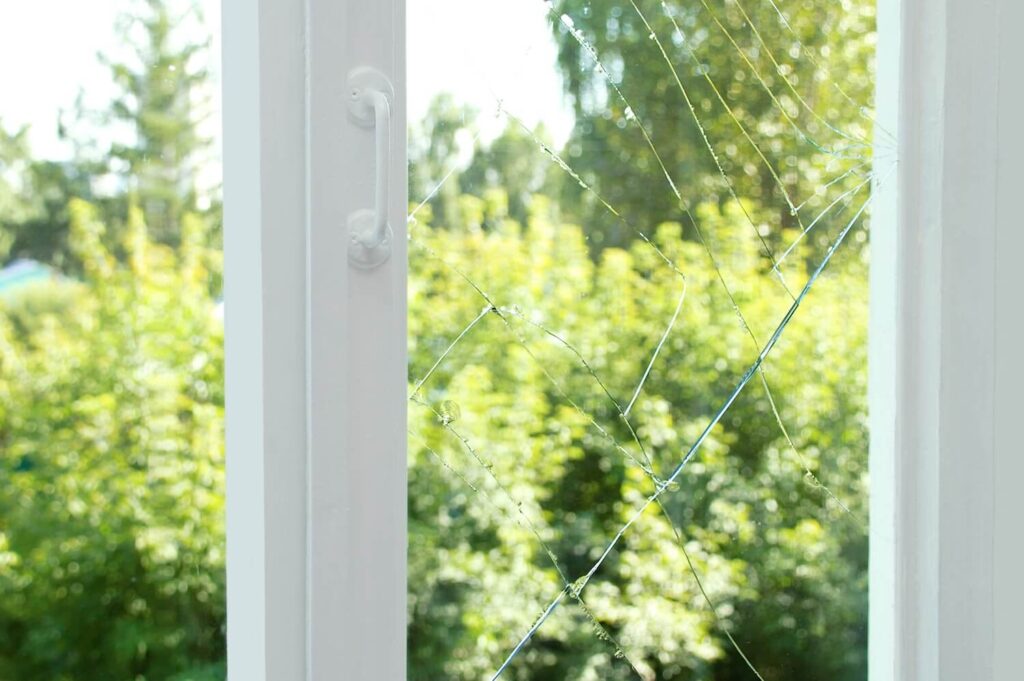 How to Prevent Spontaneous Glass Breakage

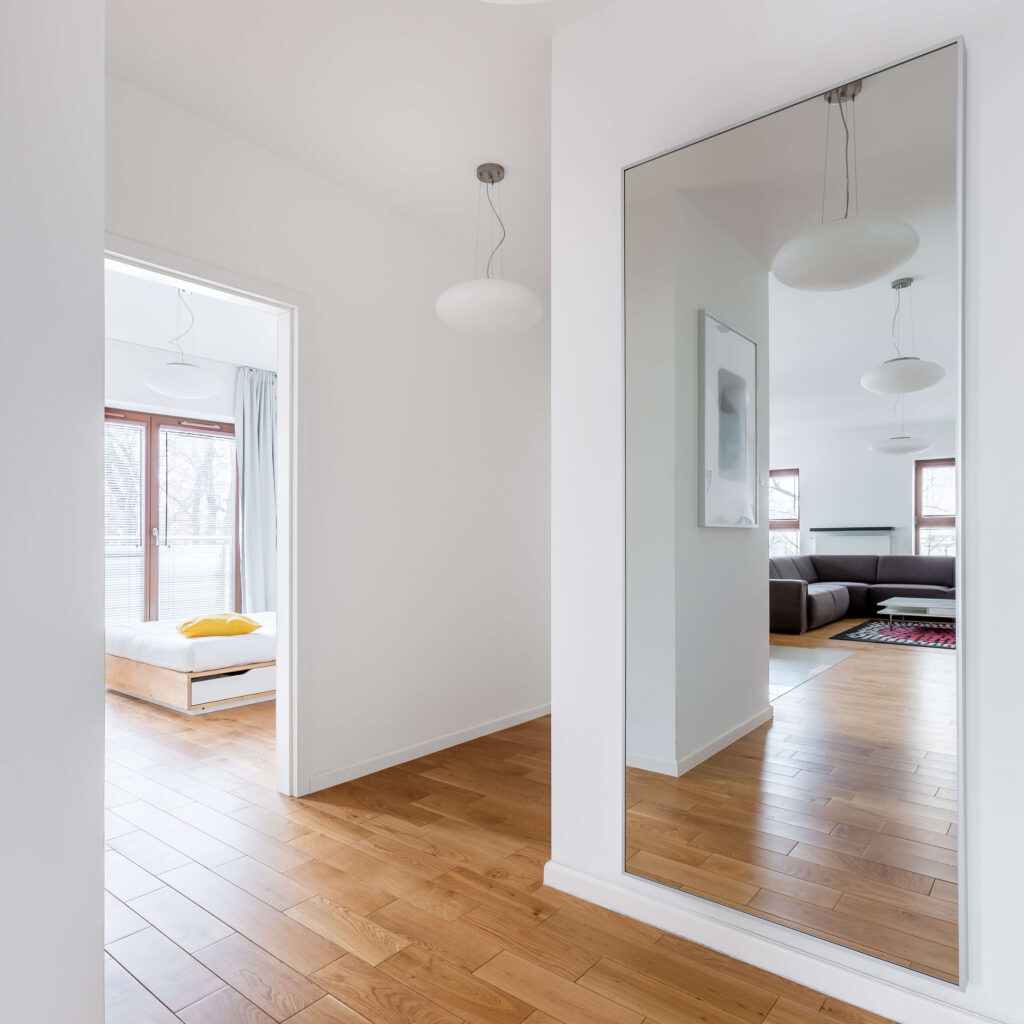 Dressing table mirrors
 Illuminated mirrors
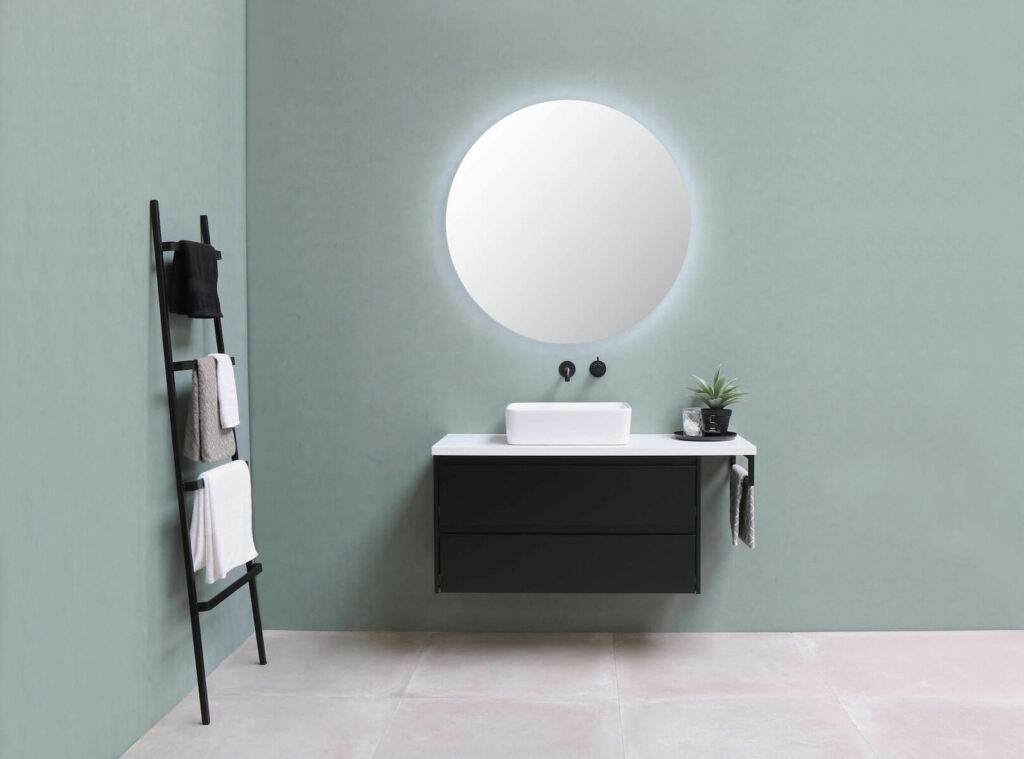 Mirrored furniture
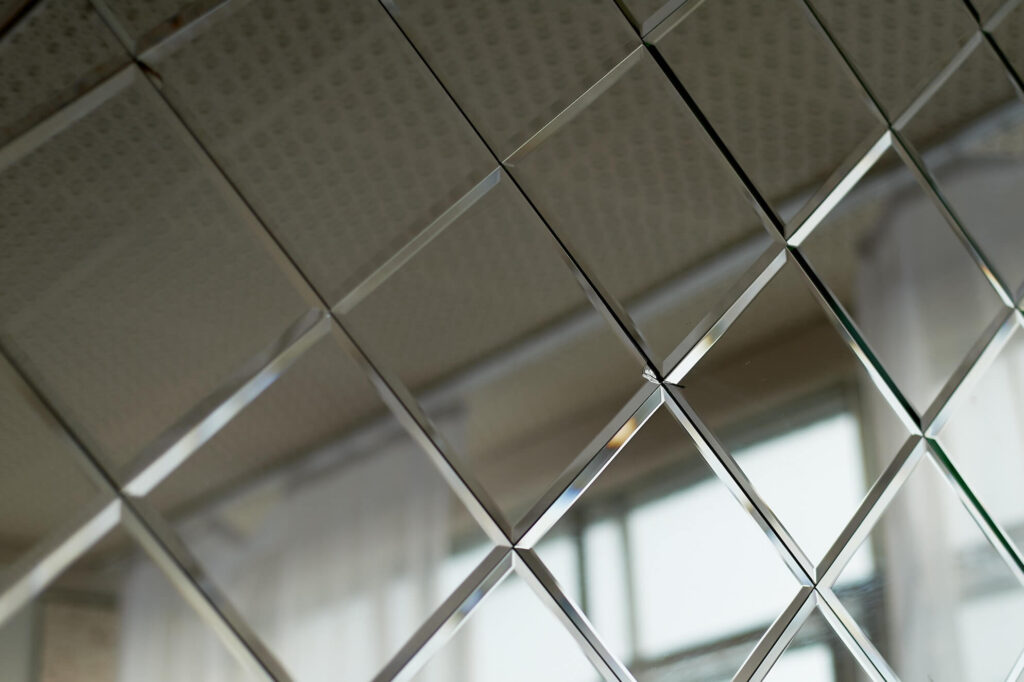 Find a mirror to suit your home
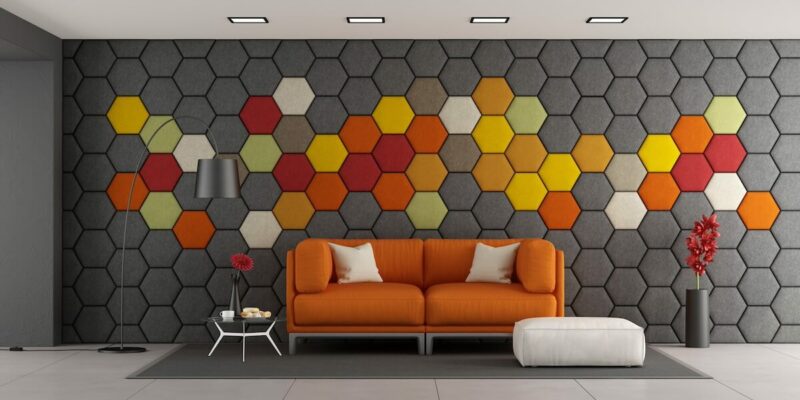
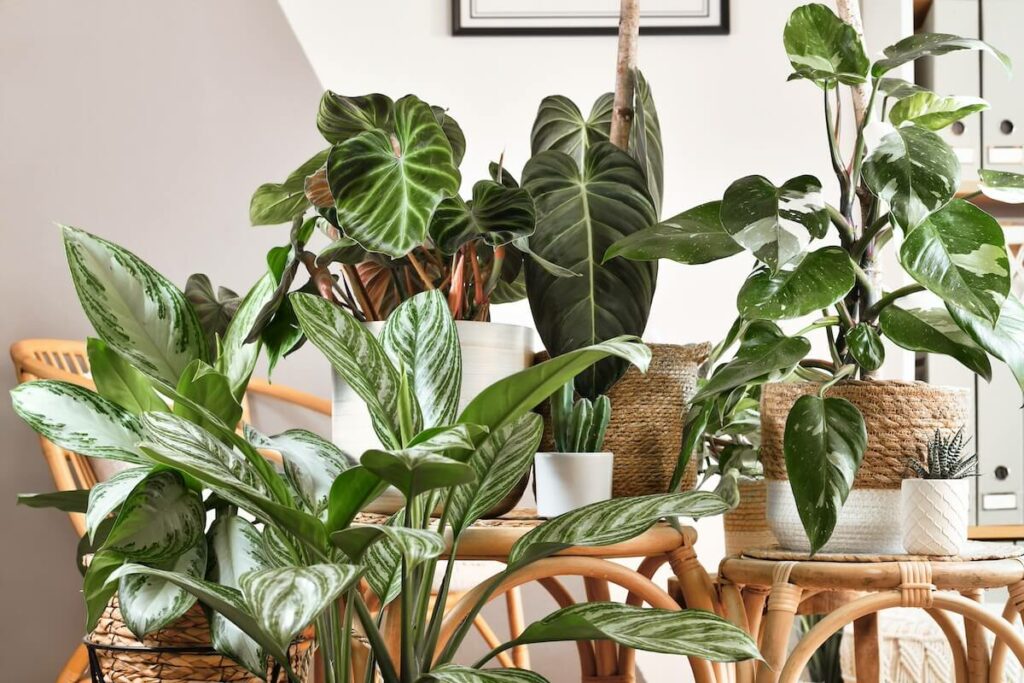 Indoor plants
 What are the most effective ways to reduce noise pollution?
 Replace your doors
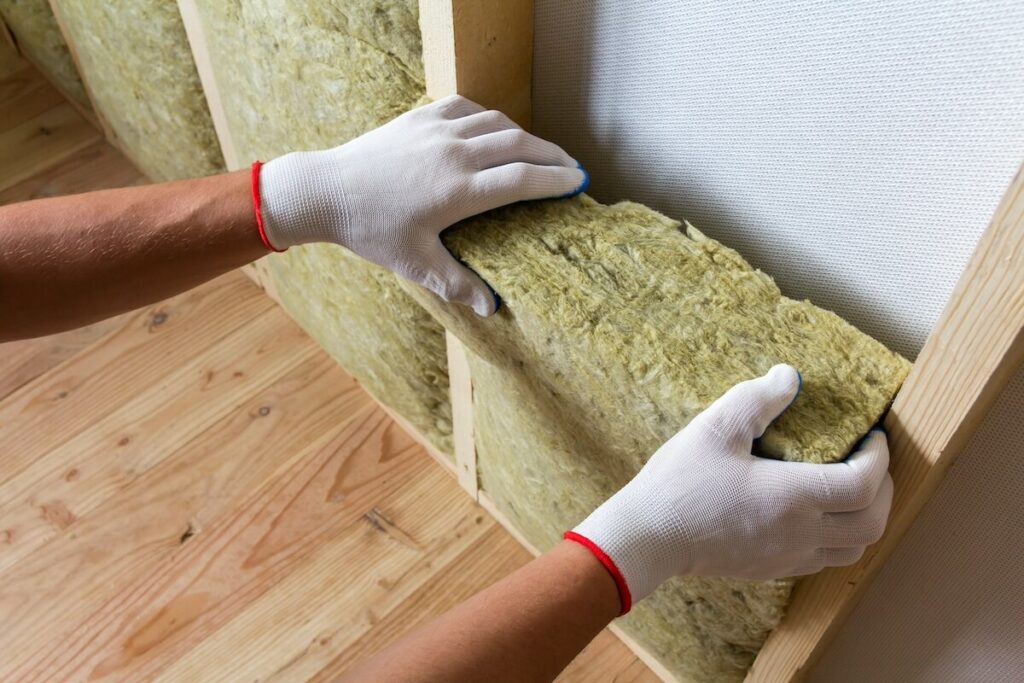 Soundproof your walls
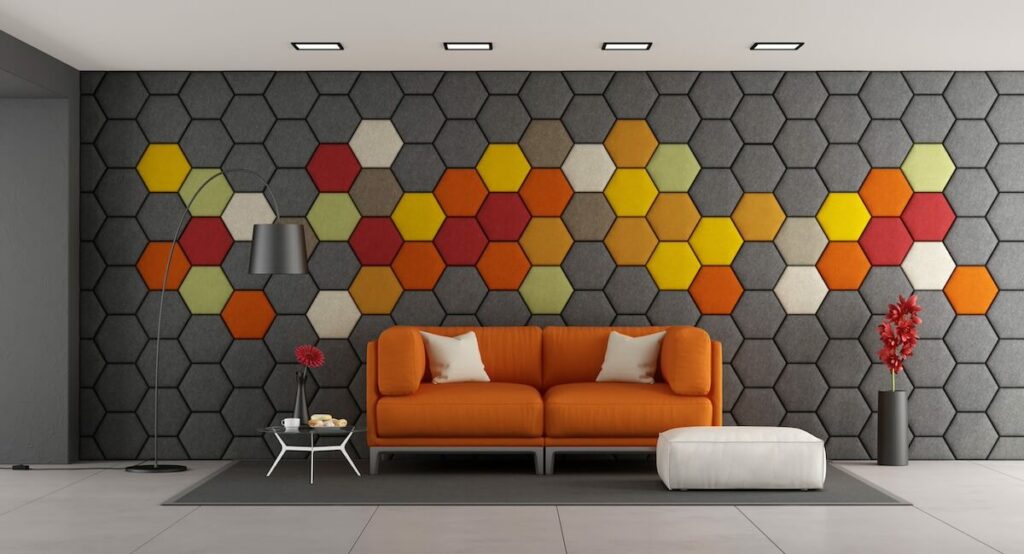 Add acoustic panels to your walls
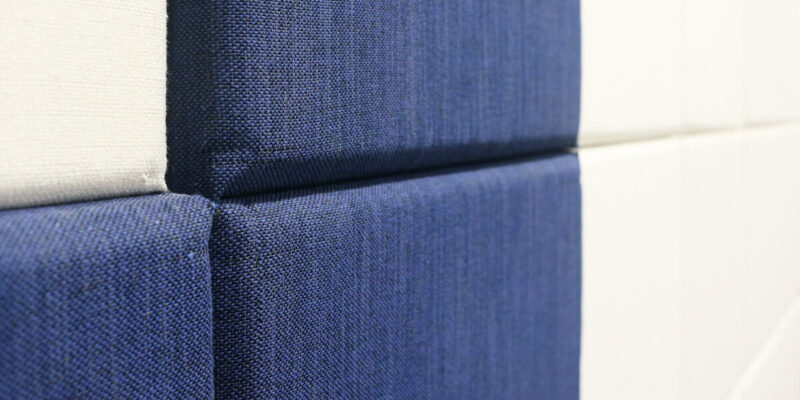
 What are the disadvantages of soundproofing?
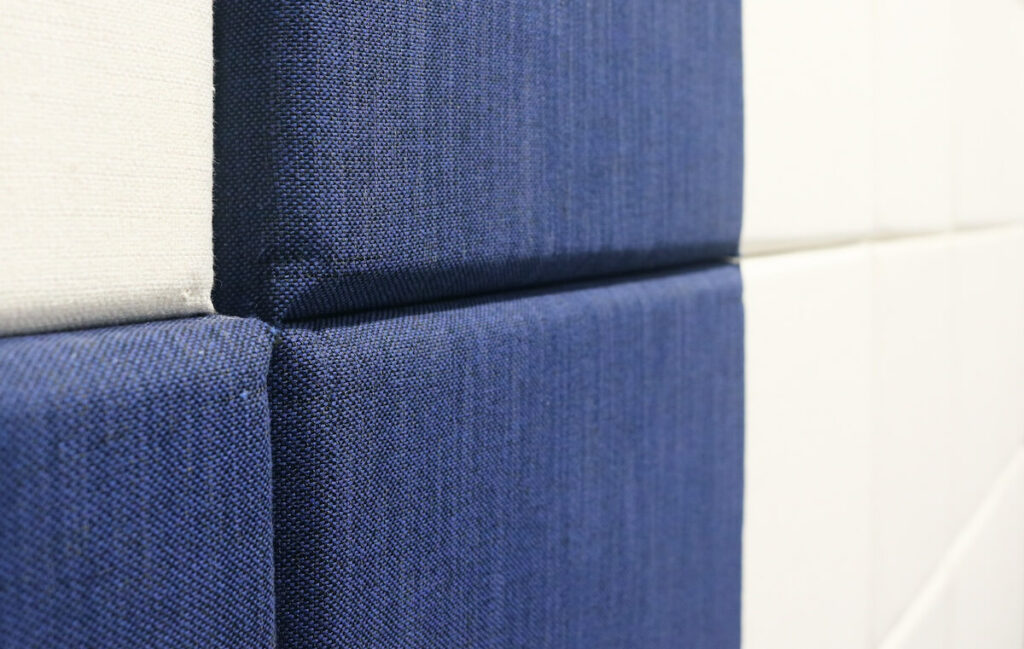 Will the council soundproof my house?
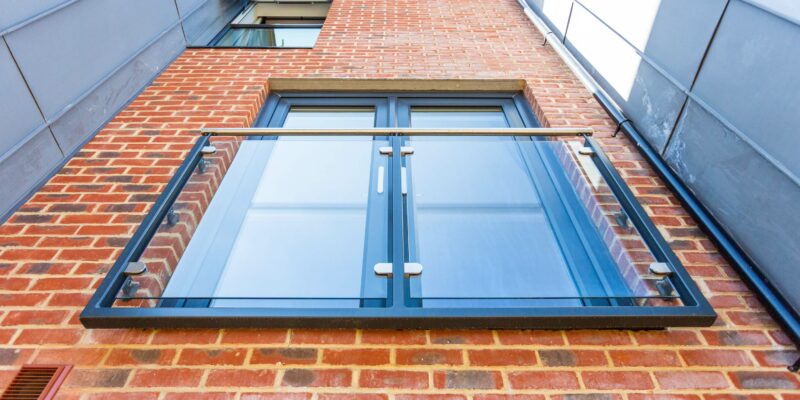
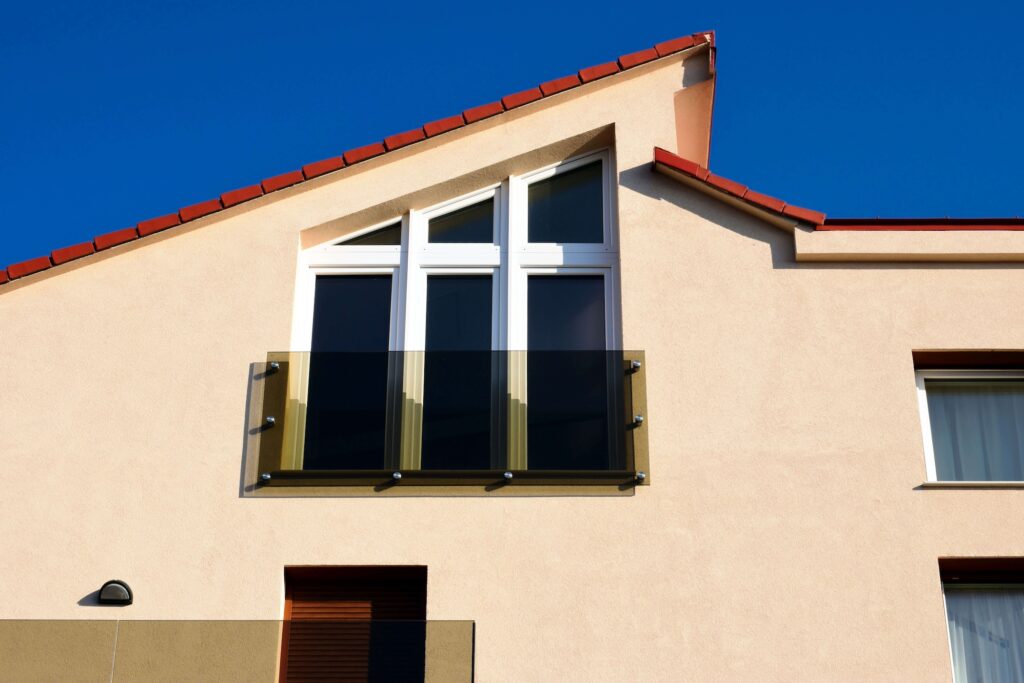 What is the point of Juliet balconies?
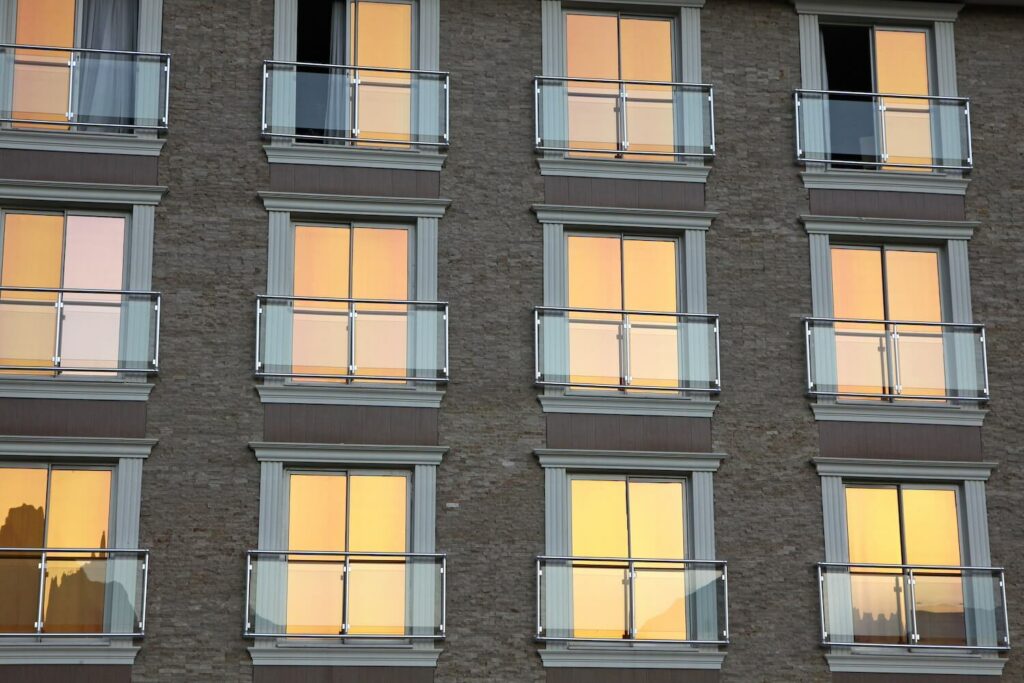 What are the regulations around Juliet balconies?
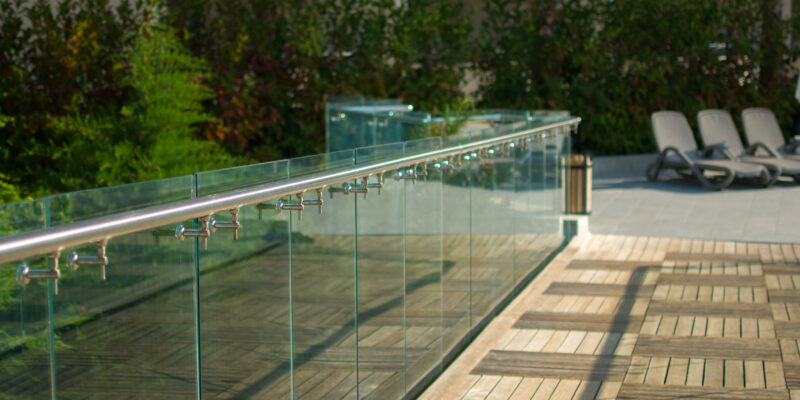
 Why use glass balustrades outdoors?
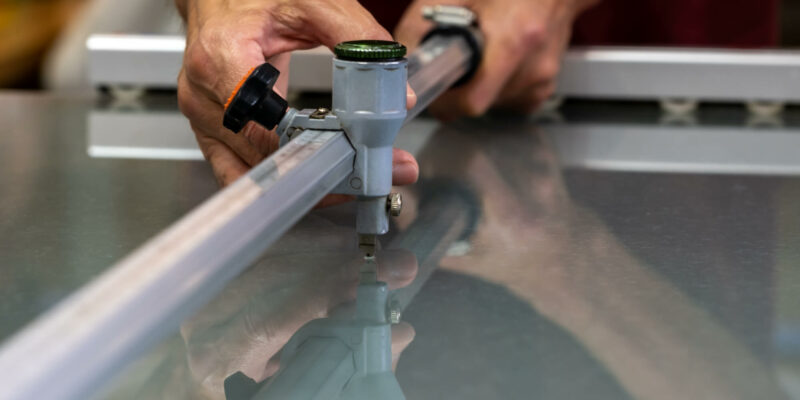
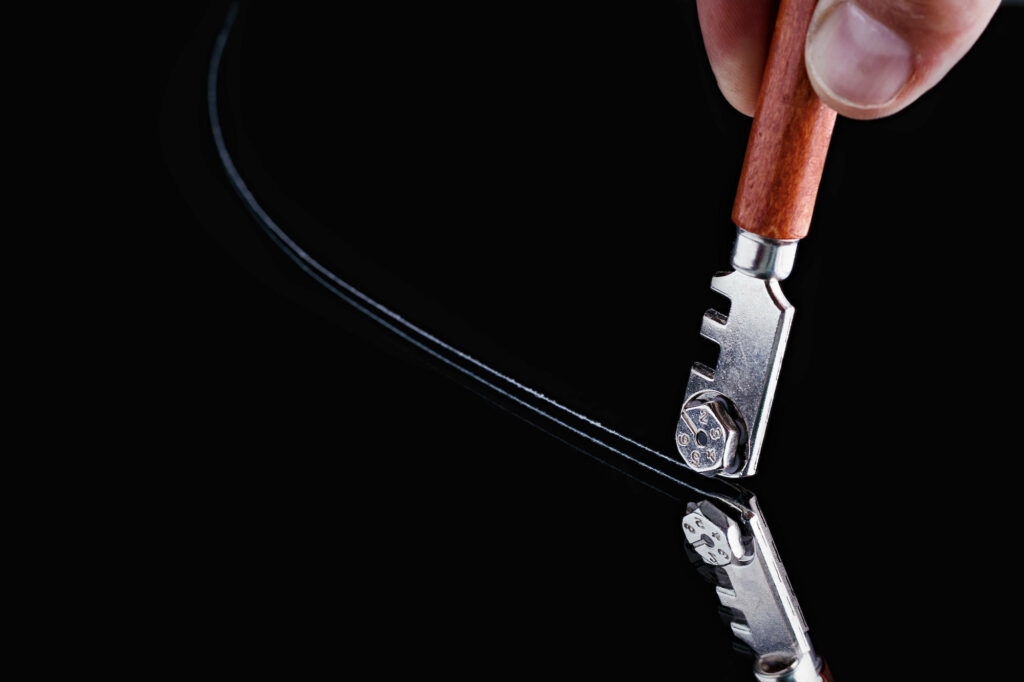 What is the best tool for cutting glass?
 What thickness of glass can a glass cutter cut?
 What are glass display cases made of?
 What are the drawbacks of glass display cabinets?