Updated September 2025
Mirrors are one of the most popular items used in interior design. Positioned correctly, they can make your space look brighter, and even feel bigger, so its easy to see why are such a common design choice.
Finding the right mirror for your room can be difficult. Knowing where to hang for maximum effect can be even more difficult. And even when both these tasks are ticked off, there is still one more to overcome before you can enjoy the impact of a carefully chosen, perfectly placed mirror – and that is getting it hung.
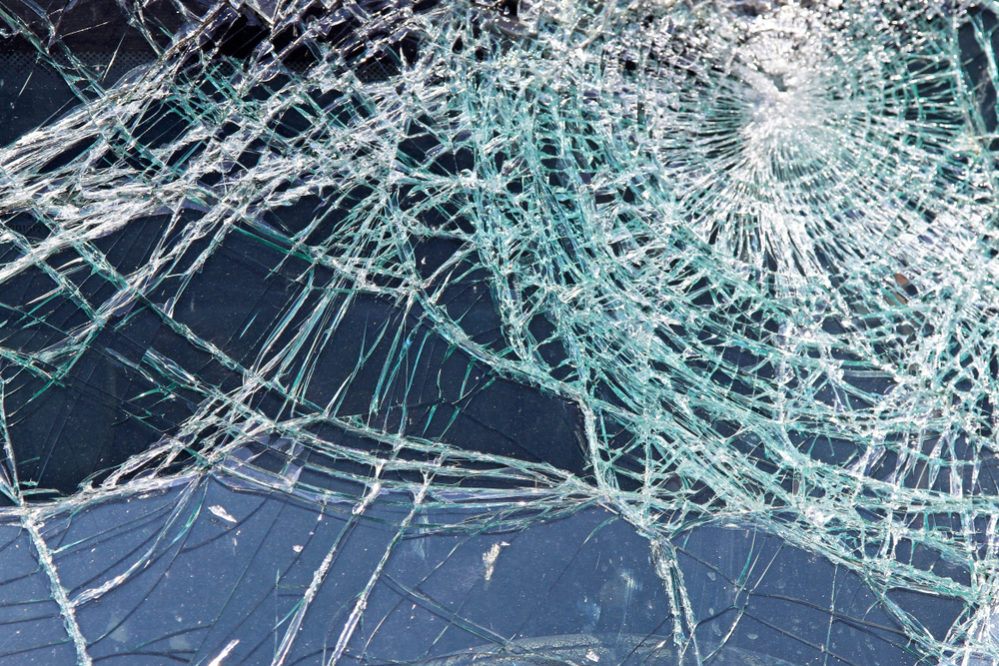
If you don’t know what you’re doing, this can also be complicated. And a mirrorr hung incorrectly, without sufficent support in the correct places, can be a safety risk as the mirror might later fall and break.
In this guide, we’ll explain how to hang a mirror correctly, so you can experience the many benefits without having to worry about sweeping up shattered glass. We’ll cover the tools you’ll need, the steps to take, and where you might choose to hang it as well, so you will know everything you need.

Preparation:
Before hanging your mirror, you need to prepare. This process might feel tedious, but it is better to make these checks before you start than having to interrupt your work halfway through to find more items – or even realise it isn’t possible.
Here are some questions you should ask and checks you need to make.
Is the wall surface level?
Start by checking your wall is flat. If it isn’t, your mirror won’t hang flat, and might give distorted reflection. It might even make the mirror fall over time.
Use a spirit level to check that your wall is level before hanging your mirror, to make sure your wall is flat and suitable to hang mirrors from before starting.
Check for cables
Make sure you’re not trying to hang your mirror over a portion of wall with electrical cables behind. Otherwise, you might hammer a nail through them, causing damage to your electrics (and potentially yourself!)
The most reliable way to check for cables is with a tool, such as a studfinder that is also able to detect electricty. You can also try gently knocking on the wall to see if it is hollow, but this still leaves a big margin of error. A stud finder will save you any heartache.
Mirror weight
To figure out what plugs and screws you’ll need, it’s a good idea to know how much your mirror weighs. If it’s brand new, you should be able to find out this information on the packaging or the retailer’s website. If you’re moving an older mirror or have lost the packaging, you can use a bathroom scale to check your mirror’s weight.
The best way to do this is to weigh yourself without the mirror, then weigh yourself holding it, and subtract your weight.
If your mirror weighs over 16kg, it’s considered heavy and extra precautions should be taken (See below).
Find a wall plug
To protect your wall (and your mirror) it’s a good idea to use wall plugs. The type of wall plug you need will depend on the weight of your mirror, and your wall type – if you’re hanging a heavy mirror, then it’s essential you get the right one. Otherwise, your wall could be damaged or unable to bear the weight.
When it comes to an aerated breeze block wall, you need a general-purpose wall plug for a light mirror or a shield anchor plug for a heavy mirror.
For plasterboard and partition walls (or a hollow core door) use a cavvity fixing wall plug for a lighter mirror, or a heavy duty cavity fixing plug for a mirror with more weight.
Finally, for a concrete block or brick wall which has been plastered, use a hammer fixing wall plug regardless of the weight of your mirror.
Once you know what type of wall plug you need, you also need to make sure it is the right size for your screws.
Check hardware
Most mirrors have mounting hardware attached to the back – either d-rings, wire or something else. Before hanging, inspect what is on the back of your mirror. This will tell you where you need to use your screws but also gives you a chance to make sure it isn’t weak or faulty.
The majority of new mirrors come with mounting hardware. Check your mirror for D-rings, wire, or other mounting hardware. If your mirror does not have any mounting equipment included, you will need to install it yourself.
Steps to Hang A Mirror
Steps to hang a mirror
Once all the preparations have been taken care of, it is now time to hang up your mirror.
- Measure up. Use a tape measure to check where you’d like the middle of your mirror to be and get the corresponding measurements.
- Hold your mirror in position. When you’re happy, mark the centre of the top edge to provide a positioning guide.
- Measure the distance between the top of the mirror and the hanging wire or hardware, and make another mark to guide the position of your hanging hook or screw.
- Drill the required holes into your wall, then insert wall plugs. The hole should be slightly deeper than the wall plug to achieve a secure fit, and make sure the plug fits tightly in the space before inserting the screw for better support.
- Drive the screw into the wall plug.
- You can now use a spirit level to check that your mirror is perfectly straight, then attach it once you are happy with where it is.
How to Hang a Heavy Mirror
When hanging a heavy mirror, you are going to take into account extra considerations. To protect both your mirror and your walls, you need to make sure the fixings (and the wall) can hold the weight.
This may mean using extra hardware like hooks, wires and brackets. If you’re buying your own fixings, you need to make sure they can support the necessary weight. Here are our top tips for hanging a heavy mirror, to ensure neither your mirror or your wall end up damaged.
- Make sure to use a longer screw and wall plug combination so they can bear the weight of the mirror.
- Where possible, find a stud in the wall to fix your heavy mirror to. If this isn’t possible, then use Molly bolts – a heavy-duty wall plug made from metal.
- Make sure the area around the mirror is clear of any mess or furniture. This will reduce your chances of getting injured or dropping the mirror. You should also ask for help when moving it.
- To ensure that your mirror is straight, use a level to draw a line across the wall. Your mirror will be perpendicular to the floor and you won’t have to worry about whether it’s level or not this way.
- If your mirror ways more than 45kg, consider using it for floor-standing use. Alternatively, use extra fixings and only mount on a solid wall.
How to hang a mirror without nails
The best way to hang a mirror without nails or screws is to use command strips or hooks. However, this is only appropriate if your mirror is small or lightweight – otherwise the strips might come off the wall, damaging the surface and possibly even breaking the mirror.
Even if you’re hanging a lightweight mirror, you still need to check that they can manage the weight of your mirror before hanging it with them.
If you can find a set able to hold your mirror, then make sure to carefully remove any or debris from the wall and the hooks before applying the adhesive strips to ensure they get a full grip on the wall. Once the strips are in place, make sure to press them down very firmly, and leave them to ‘settle’ for a few minutes before hanging your mirror.
After hanging you should check the mirror on a regular basis, just to make sure the grip isn’t slipping. Adhesive tape or strips will never be fully reliable (nails or screws are much better), so you need to check their strength and replace them often.
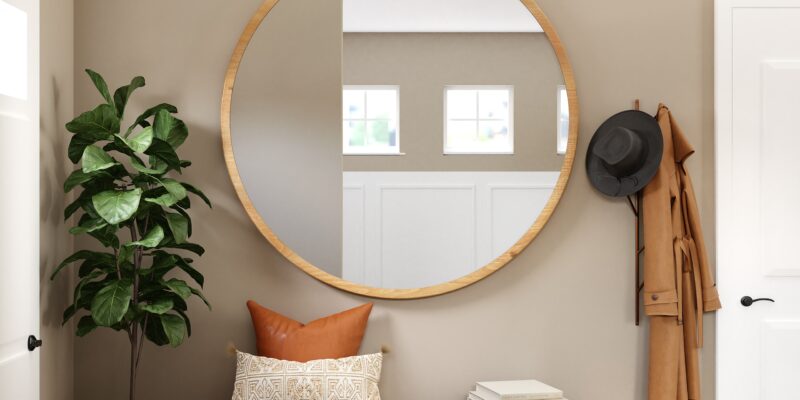
How to hang a round mirror
The steps to hang a round mirror are essentially the same as hanging a rectangular or square one. You still need wall plugs, still need to pre-drill holes and use fixings. The main difference is where you place the fixings.
If your mirror doesn’t come with fixings attached to the back, it might be tempting to place them in the centre of the mirror. However, this will actually lead to uneven weight distribution, may make your mirror look unstable and could make it fall from the wall.
When you receive a round mirror without fixings, perhaps the best way to hang is using a ‘peace sign’ formation for your hooks, with the top placed in a 12 o’clock position, and the two lower hooks in 4 o’clock and 8 o’clock respectively. Alternatively, you can hang using a cable strung between 2 o’clock and 10 o’clock.
Best places to hang a mirror
Mirrors are not only practical, but if used correctly, they can create the illusion of space and become the focal point to your home’s decor. But to get the most out of your mirrors, it is important to carefully consider where you are placing them. Let’s take a look at some ways you can determine where the best place is to hang your wall mirror:
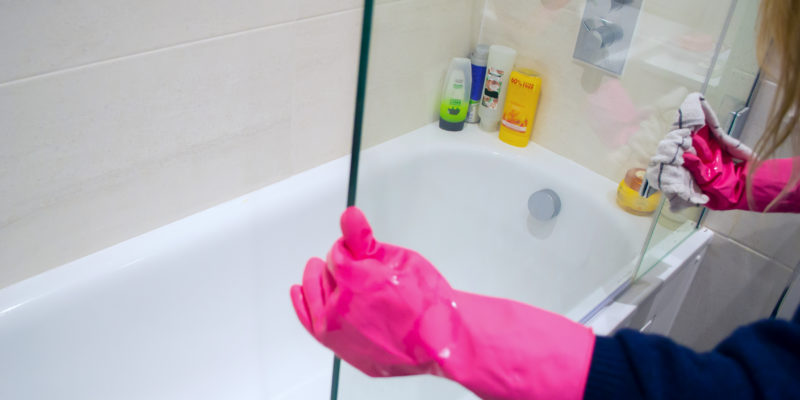
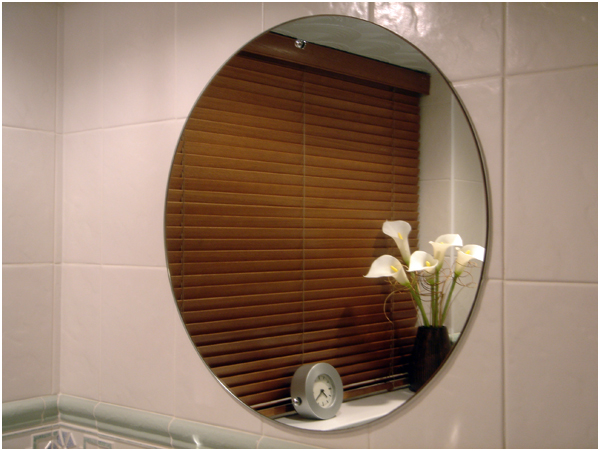
Bathrooms
The bathroom is one of the first places to think about when searching for where to hang a mirror. Mirrors are ideal in bathrooms since they open up little areas while also reflecting light around them, making small bathrooms appear larger.
Of course, a bathroom mirror also plays another important practical purpose – to view your reflection. Often for daily routines like applying make-up, washing or shaving.
A bathroom mirror is almost essential, and commonly hung above the sink to deliver the most convenience possible.
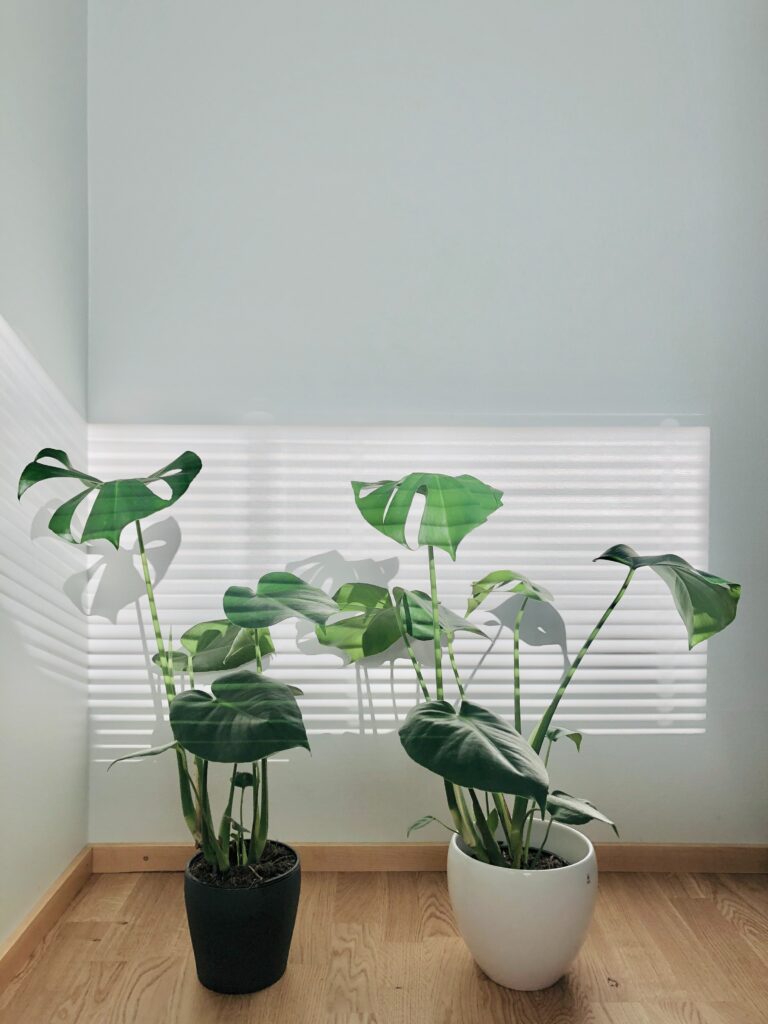
Bedrooms
Full-length mirrors are an ideal choice for bedrooms that are big enough to accommodate them. Not only will they create a focal point in your bedroom, but they make getting ready much more convenient.
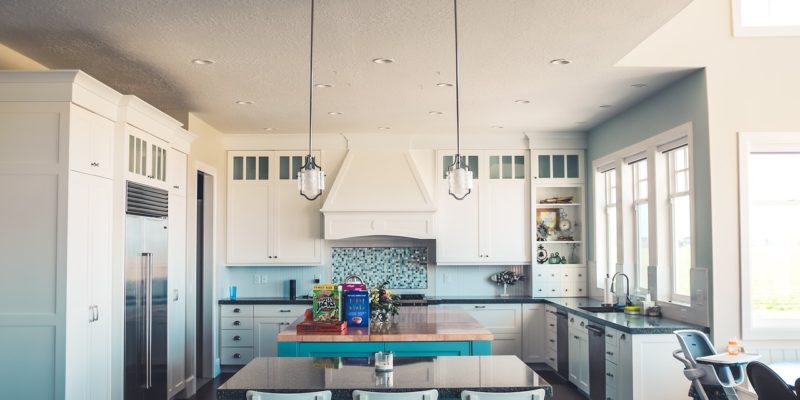
Kitchens
Showcasing a large mirror in your kitchen will help to flood the space with light. By reflecting natural light throughout your kitchen, you can make it appear larger and more cheerful than ever before.
Long Hallways
A long, narrow hallway can be a little gloomy. A strategically-placed mirror will help to open the area and reflect light throughout the house.
Contact KLG Glass Today
At KLG Glass, we make finding the perfect mirror for your home easy. With a range of different mirrors and styles to choose from, it has never been easier to find the ideal mirror for your home decor. If you would like to find out more about the mirror we supply or need advice on the best way to hang a mirror, get in touch with us today and a member of our team will be happy to assist you.


 Glass splashbacks are an increasingly popular choice when it comes to protecting your kitchen walls. The glass used is strong, durable and heat resistant, making it perfect for any busy kitchen. The
  There are many advantages to choosing a
  Kitchen tiles are a classic choice when it comes to protecting your walls. Kitchen tiles have been used for decades and their neat look and versatility help them remain popular. You can opt to have tile splashbacks just behind the hob and sink where most splashes will occur, or tile the wall section above your work surface all the way along your kitchen. As with any material, the more tiling you want and the fancier the tiles, the greater the cost. However, your standard tiles do tend to be cheaper than glass splashbacks.
  Kitchen tiling and splashbacks have their own set of advantages. Some of the main benefits of kitchen tiles are:
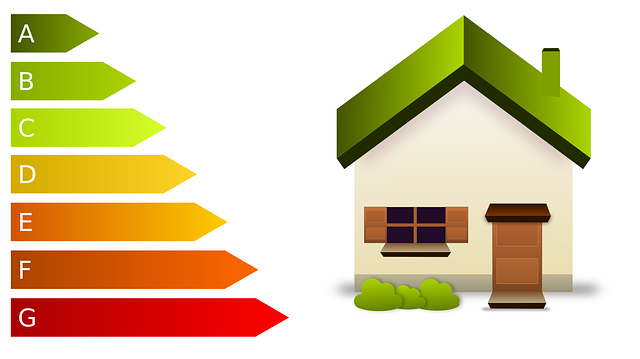 In a typical family home, double glazing can save you over £100 on your annual energy bills. The precise figure you can expect to save will depend on a couple of factors: what type of property you have, and the energy rating of the double glazing units you choose.
 In short, yes! If your windows aren’t as energy efficient as they used to be, you can replace the
  Here are some telltale signs that your double glazing has failed.