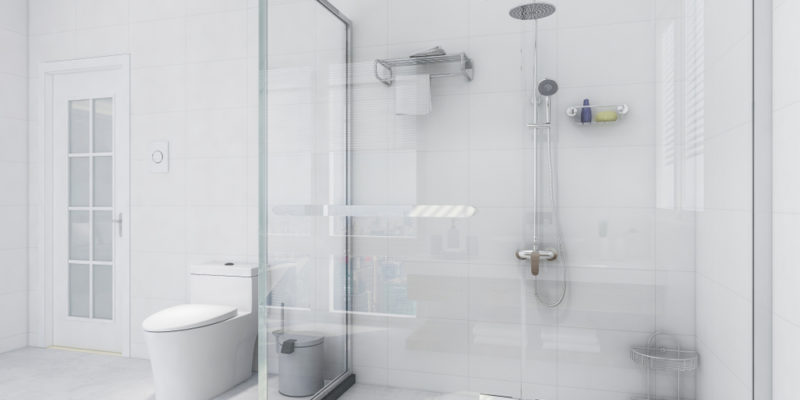
It’s official, shower curtains are out and shower screens and doors are in. Long gone are the days of mildew stained curtains that barely do the job they’re designed for, shower screens and doors are an increasingly popular choice, and with good reason.
Not only are they easier to keep clean, they’re also available in a number of different styles and finishes, depending on the look that you’d like to go for and the space you have in your bathroom. There are 3 main types of shower screen; static, hinged and concertina (folding), all of which have their own unique properties but serve the same purpose – to protect the rest of your bathroom from water escaping whilst you shower.
Despite their design differences, the fitting of each style of shower screen or door is very similar. So, if you’re planning to update the aesthetics of your bathroom, installing a shower screen is a great way to do it – and with not too much effort either.
If you’re pretty familiar with DIY and you’d like to keep installation costs down, then there’s a good chance you’ll be able to fit one yourself with the know how and tools. Though, if you’re not 100% confident you’ll be able to do the job well enough, we always recommend seeking the advice of a professional.
So, let’s take a look at how to install a shower screen and what you’ll need to get the job done…
What tools do you need to install a shower screen?
Firstly, you’ll need to make sure you have the right tools for the job, here’s a list of what you’re likely to need:
- Electric drill
- Hammer
- Masking tape
- Pencil
- Sealant gun
- Spirit level
- Standard screwdrivers
- Tape measure
If you have a made to measure shower screen or door, you’ll likely need to buy the fixtures and fittings separately (it’s common for these to be supplied with “off the rack” varieties). These will include:
- Frame
- Screws
- Screw caps
- Seal
- Wall channels
- Wall plugs
- Silicone sealant
How to install a shower screen
While this guide will focus on the static shower screen, the fitting for hinged and concertina varieties isn’t too dissimilar. So, let’s get started…
- Firstly, make sure you have all the parts required for the fitting, the last thing you want to do is get halfway through the job to realise you’re missing an essential piece of the puzzle.
- Once you’ve made sure you’ve everything you need, check to see if the wall channels have the holes pre-drilled, if not, you may need to add these yourself. Measure these evenly according to the height and width of the channel. It’s also essential at this stage to check for pipes and wires where you plan to fix it to the wall to ensure you don’t accidentally drill into them.
- Once the holes in the wall channel have been established, line this up on the wall where you plan to install it. Using the spirit level as a guide to ensure it’s straight, use a pencil/pen to mark on the wall where you plan to drill the holes.
- Once you’ve marked the wall, drill the holes and add wall plugs. If you’re drilling through tiles, one easy way to hopefully prevent them from cracking is to put masking tape over where you plan to drill. Once drilled, remove the masking tape.
- Secure the wall channel to the wall using screws (these may be provided by some manufacturers).
- Next, secure the shower screen to the wall channel. This can be a heavy job, so it’s always advised to enlist the help of someone else to ensure no accidents happen. How this is done may also vary depending on the manufacturer and the type of wall channel you have (you may not even have a wall channel but a series of supporting brackets/hinges if a more minimalist look is preferred), so it’s always advisable to seek their advice or check out the instructions before you embark on fitting a shower screen.
- You may have some bracing bars which fit along the bottom or top of the screen. If so, you’ll need to install these before fitting to the wall. These not only help stabilise the glass but can also help prevent water escaping, too.
- If you have multiple screens to install as part of your shower enclosure, you’ll likely need to repeat the same process.
- Once all screens have been fitted and you’re happy the job is done, run a bead of silicone sealant around the edges of the wall channels or brackets with a sealant gun. Remember to leave the silicone sealant to completely cure for at least 24 hours before taking a shower.
While we know that not all shower screens and doors are fitted the same, we hope our easy guide has given you some idea about how to get the job done. If however you’ve decided fitting a shower screen isn’t for you, we definitely recommend getting a professional in to do the job.
Decided it’s time to trade in the shower curtain for a shiny new bespoke shower door designed to your specification? Whatever it is you’d like, give us a call to see how we can help… We can even give you a hand with the fitting if you’re within a 20 mile radius of our Nottingham office!